
I decided that I wanted to do this project! Stephanie also created a Facebook group called Documented Faith. I spent forever reading all the lovely posts that people had made. They showed what they were using and how they set it up.
Stephanie suggests using a Moleskin 12 month planner or you can use whatever you have on hand. Since this was my first time doing this project, I wasn't sure what I wanted to use. I could use any one of the blank journals that I had on hand or a composition notebook.
I went to Staples to check out the Moleskin planners (they are pricey) and found this Poppin 18 month planner on clearance for $7.40! I figured for that price, I could try it out and if I didn't like it, I could switch to one of my other options.
I jumped right in!

What a gorgeous hot pink color!!!!
I had read other people were using a 18 month planner, in which you could use the extra pages (months that had already passed since it started June 2014) or you could tear them out, so you would have extra room as your planner expanded! I decided to leave in the extra pages!
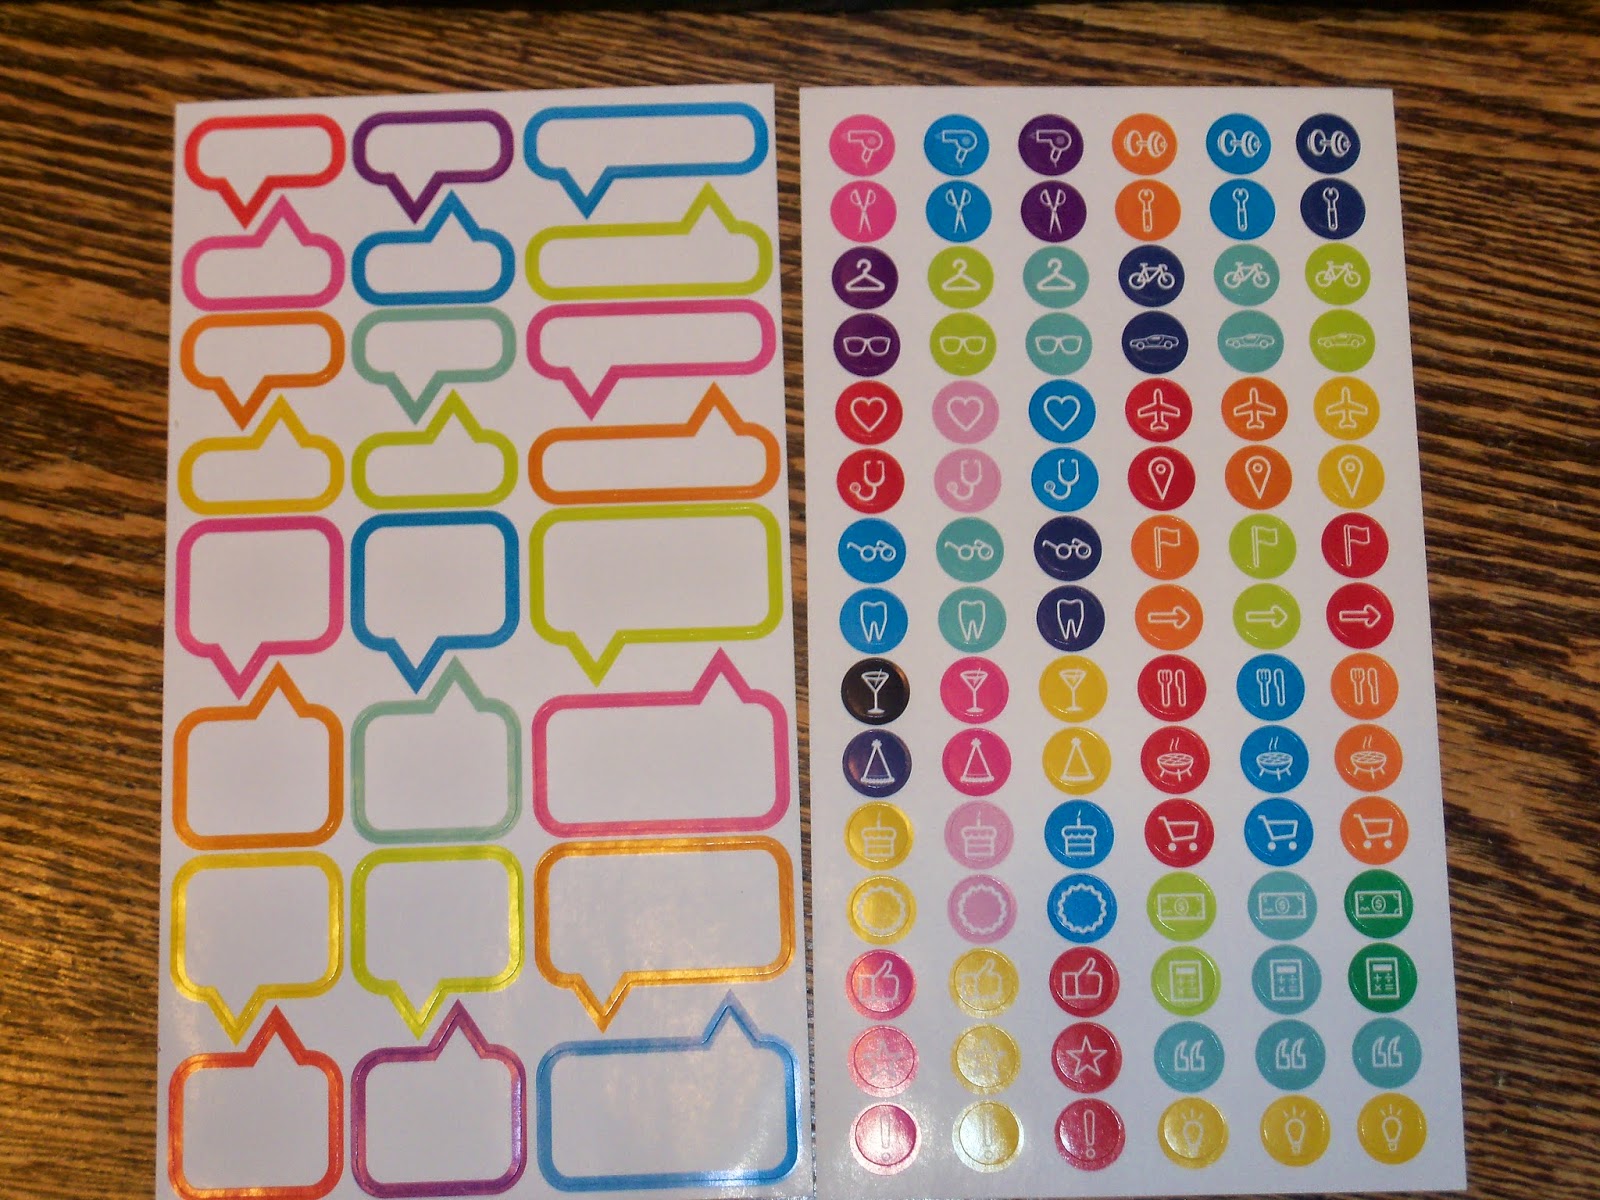
The planner had these stickers included in the pocket in the back.
Stephanie gives a tutorial on how to add washi tape to the pages edges and do tip-ins. Tip-ins are extra sheets of paper that are added to the side of a page and washi taped on, then folded in. I opted not to washi tape all of my edges, and just do the tip-ins. I wanted to add tip-ins to each month page, so I would have extra room each month, if needed. My kids helped me pick out the washi tape for the 12 months. We went for themes for certain months and something for each of my family's members birthday months.

I cut a piece of card stock to size. My daughter helped me with the next part. We cut washi tape to size and then adhered it to the planner page... then lined up the extra sheet and stuck it on. Then, we flipped over the page and put washi tape on the back side, just to reinforce it.

This is how a tip-in looks.

This is what the whole planner looked like with the tip-ins all finished.


And these are all 12 months of washi taped tip-ins.


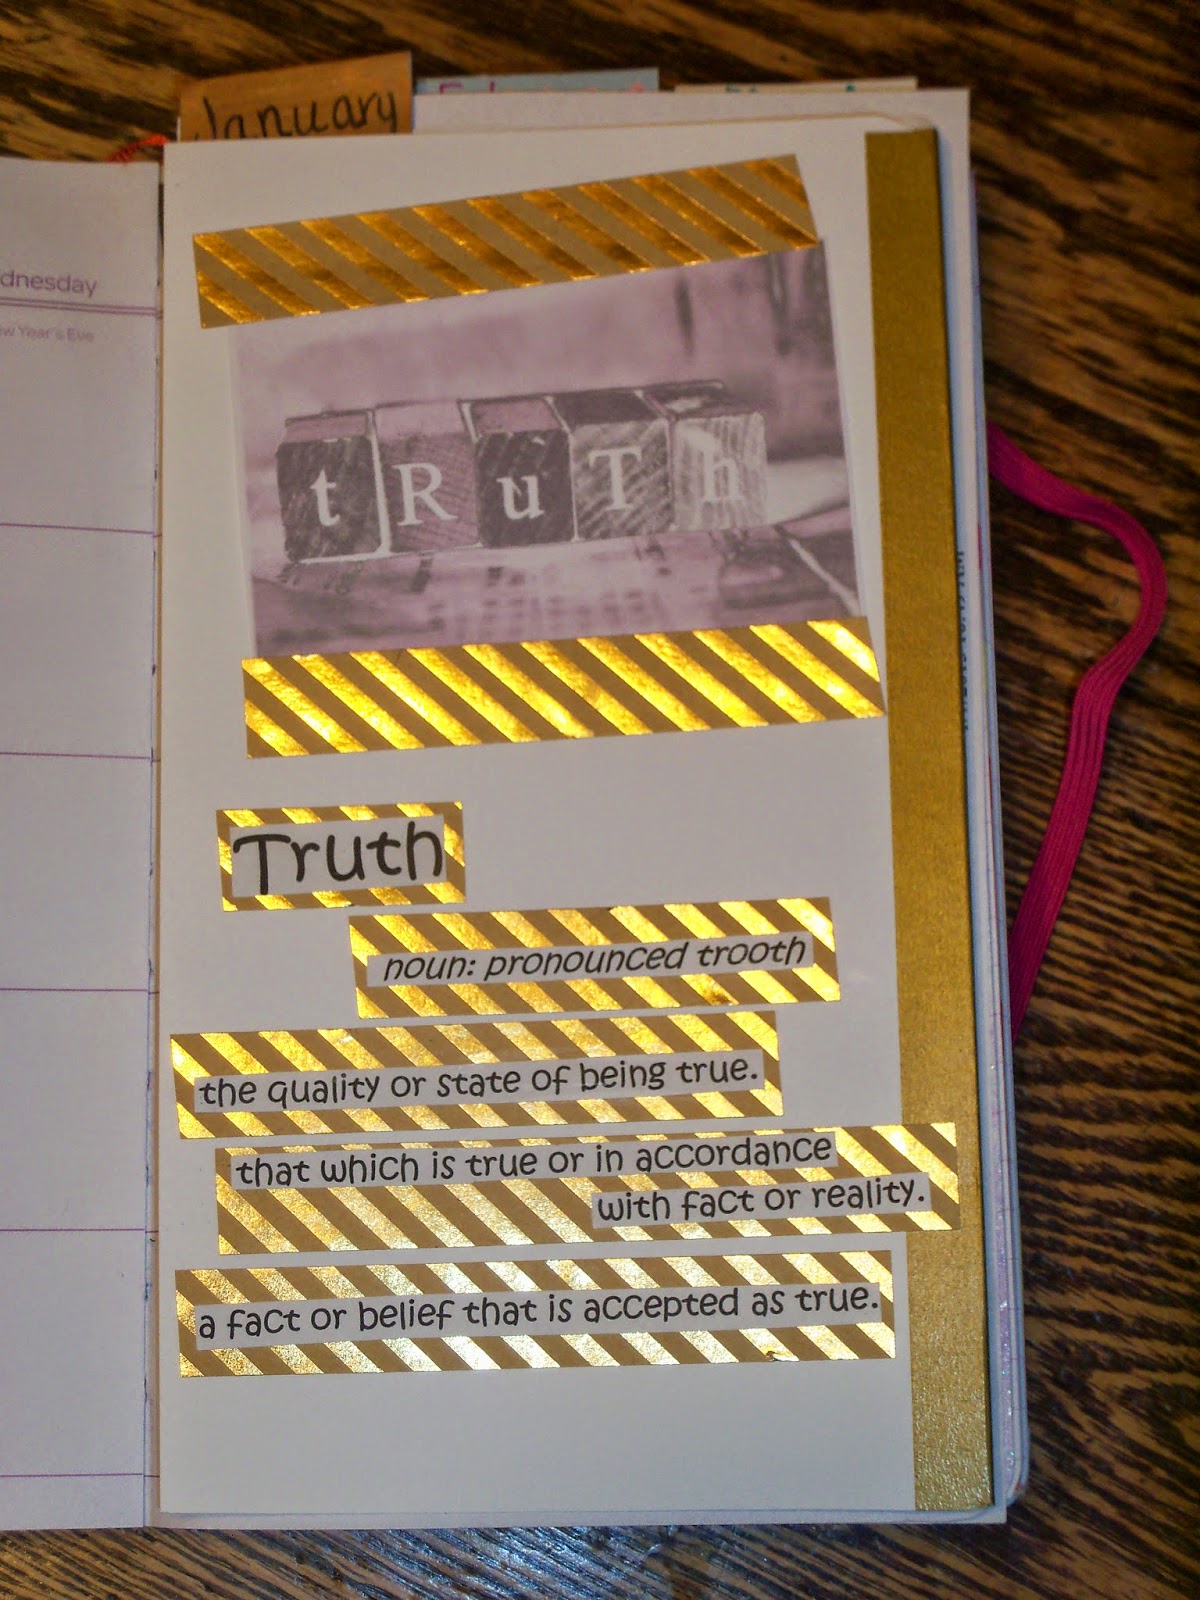


I used the extra pages at the beginning of the planner, before January. See, they did come in handy! I had spray misted some other pages, cut them to size and glued them onto the planner page. I washi taped the middle part where there was a gap.


People pick one word for the year. Last year, I didn't really have a word, but I had a phrase that I had chosen. It was, "Until God opens the next door for you, praise Him in the hallway!" This year, I wholeheartedly believe is the year of change for my family! I chose two words, faith and hope. I chose two words, because these two words go hand in hand.


So far, I am loving this project. I haven't really added anything on the daily parts of the planner, except for the weather, but that's ok.
The journey continues... stay tuned! ;)
You have done an amazing job. I am very impressed with this post and your journal ☺️ I am so grateful that we are friends
ReplyDeleteThanks so much, Doris! I am grateful that we are friends too!
Delete